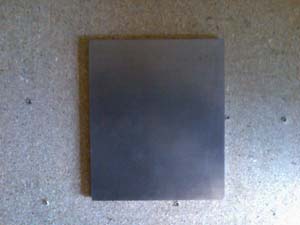
Firstly, gather together a few basic tools. An electric drill, an assortment of drill bits, a jigsaw, a grinder, a hammer, a centre punch, a ruler, a file and a set of compasses. Put it all on your workbench ready, then tootle off and find yourself some steel plate. I picked mine up from a local engineering company. I went along and told the guy I was after some 6mm plate, 5" x 6". I was lucky enough for him to cut me two pieces for free, although I’d have happily paid.
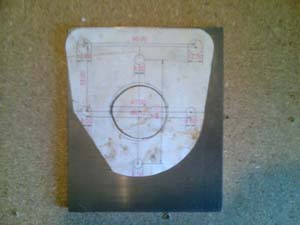
Next, print off the template that was posted on the MMMotors forum here, cut it out and stick it onto your steel plate.
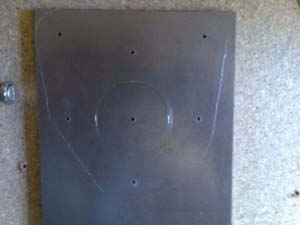
Now we need to mark it out. For this you’ll need your centre punch. Put it onto the centre of the holes marked on the template and whack it with a hammer. This will leave a nice little indent on your steel plate that marks out the hole centres. Now you can use your punch as a scribe and "draw" around the outside of the template to mark out the shape. When that’s done it should look something like the picture below.
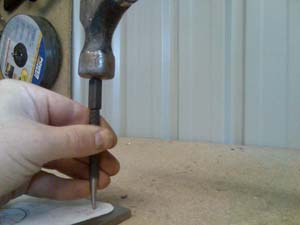
Next, insert a 2mm drill bit into your drill and drill all the indents that you just marked out. The 2mm hole will not only allow you to see the hole centres more easily but will also act as a pilot hole for when we have to make those holes bigger; but we won’t do that just yet. What we do next is mark out the large hole in the middle, 47mm. To do this, take your punch and secure it into your compass. Measure half the diameter, 23.5mm, and then mark this onto your plate.
Now we can drill the holes out to the correct sizes. With a new drill bit the 8mm holes are easily done. For the 12mm holes it’s best to drill them to 8mm then using progressively larger bits, drill them out to 12mm.
Just a quick point about working with 6mm plate -it’s thick. When drilling, (or cutting), don’t just pull the trigger and allow your drill to spin away at top speed. This will make it all very hot, will blunt your drill bit and may cause you to slip. Start slowly, allow the bit to bite into the steel and continue at a steady pace. Your drill has that wheel, knob, button or whatever speed setting device for a reason......use it.
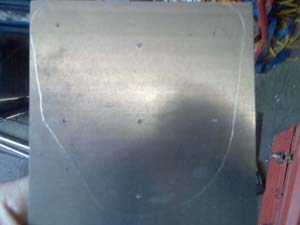
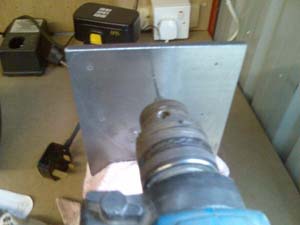
This next step is probably the hardest, not that it’s difficult but it is time consuming and involves the most work. Yep, we gotta cut the big hole out. Remember we are only using basic hand tools so no hole-saw or lathe! So how do we do it? We drill lots of holes just inside the marked out circle, then we join those holes up by drilling one of them out larger and finally, using a jig saw, cut out the centre.
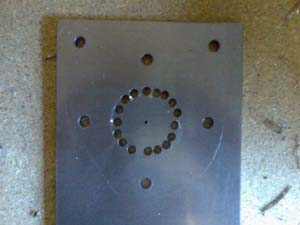
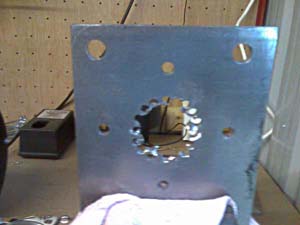
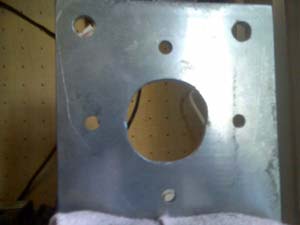
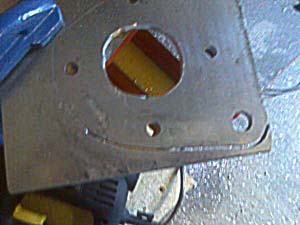
Ok, clean up the sharp edges of the large hole with your file and it’s starting to come together. If, like me, you find that filing is a pain, you can use those grinding stones that fit to your drill. They will do the job but generally take 4 times as long! So now you’ll have something that looks like this.
Hmmm, don’t look much, just a collection of holes! Time to put some shape to it I think. Fire up your grinder, (I used a bench-mounted one but you can use an angle grinder), and grind the corners off to the shape we marked out.
Nearly there now! Let’s cut the rest to shape. This can be done with a cutting disc in your grinder but I found it neater to use the jigsaw. With the plate securely clamped in place, using the lowest speed setting and a 21 or 24tpi blade, it’s an easy job to cut the final shape with a jigsaw, following the outline we previously scribed out. Take your time with this and let the blade do the work –it’s 6mm steel plate that you’re cutting so it’s not gonna slice through it, but it will do the job.
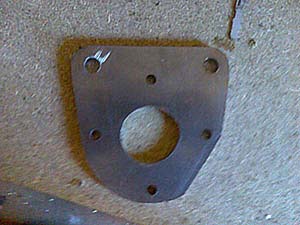
A quick clean up with the grinder and there you have it, one bracket. Now do it all again for the second one! Not cut on a lathe or using CNC but all done in my shed using basic tools, a little bit of time and minimal sweat! Now if you can get them machined up by your local engineer then that’s fine, but if not, you can always do them yourself!
-TBone